
With over 1 million active installations, W3 Total Cache is one of the most popular ways to optimize and manage the cache for your WordPress site. This can result in faster load times and less strain on your server, which can also help your SEO (search engine optimization) efforts.
How to Use W3 Total Cache in Platform
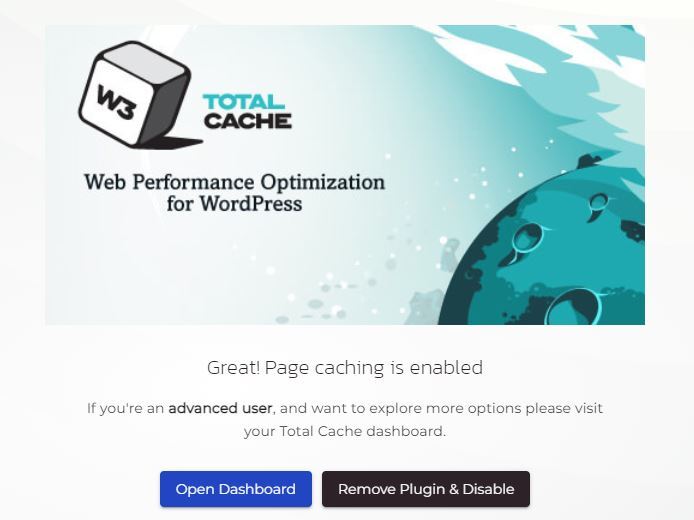
If you have Platform InMotion, W3 Total Cache is already pre-built into your website. All you have to do is enable it.
- From your WordPress Central project dashboard, click Optimize > Page Speed.
- Click Enable Page Caching.
- W3 Total Cache is now enabled. If you would like to explore more advanced options, you can click the Open Dashboard option.
How to Optimize WordPress with W3 Total Cache
By default, WordPress is a dynamic CMS (Content Management System). This means that for every visitor request that WordPress has to process, it must first connect to the database to see if the requested page even exists.
In a lot of cases, this might not be problematic on a site that doesn’t receive much traffic. However, a sudden surge in traffic caused by search engine bots, or just a general increase in normal traffic can quickly cause your WordPress site to use up a lot of CPU resources from the server while trying to fulfill needless duplicate requests again and again.
You can counter this increase in CPU usage by implementing a caching plugin. What these do is cache the first visitor’s request of a new page to a plain HTML file on the server. Then, when another visitor comes through and requests the same page, so long as the page wasn’t updated in your administration section, or updated by a comment, the cached HTML page will be served.
This can greatly reduce CPU usage of your WordPress site very easily. As an example, let’s say you had 100 views of your front page. Without caching that would require the same database query to have to run 100 times, and every time it’s just getting back the exact same data anyway.
With a caching plugin, only the first user would have the database query run to generate the cached HTML file. Then, the next 99 visitors would get that cached HTML served to them right away, without having to wait for any database activity to complete.
This is just about always a win-win, because your visitors don’t have to wait as long for your pages to load, and you’re reducing the impact of WordPress’s requests on the server’s performance.
Please note that database caching is not recommended for Shared Hosting as this process is dependent on the disk speed of the server. Due to the nature of shared system resources, disk speed may be limited and as such database caching may adversely affect the performance of your site. We recommend experimenting with different caching techniques to see which works best for your site.
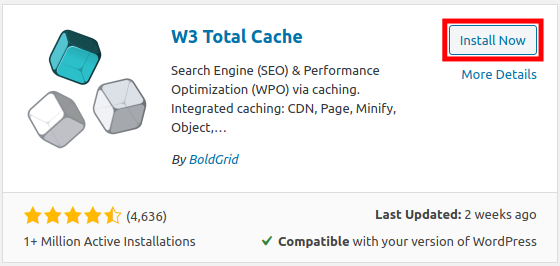
- Install the W3 Total Cache plugin by BoldGrid.
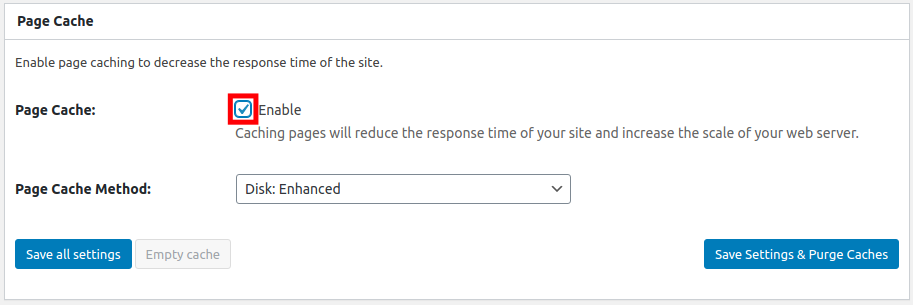
- From the left-hand menu, you should now have a new Performance section. Hover over this and click on General Settings.
- Scroll down the general settings page ensuring that the following section is enabled. Then, click the Save all settings button.
Page Cache:
 Minify:
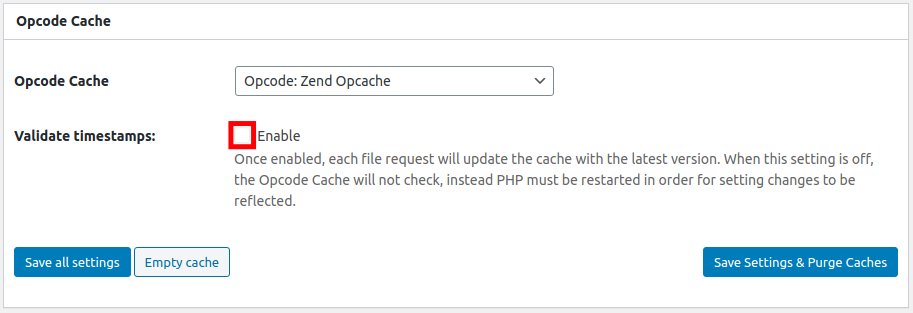
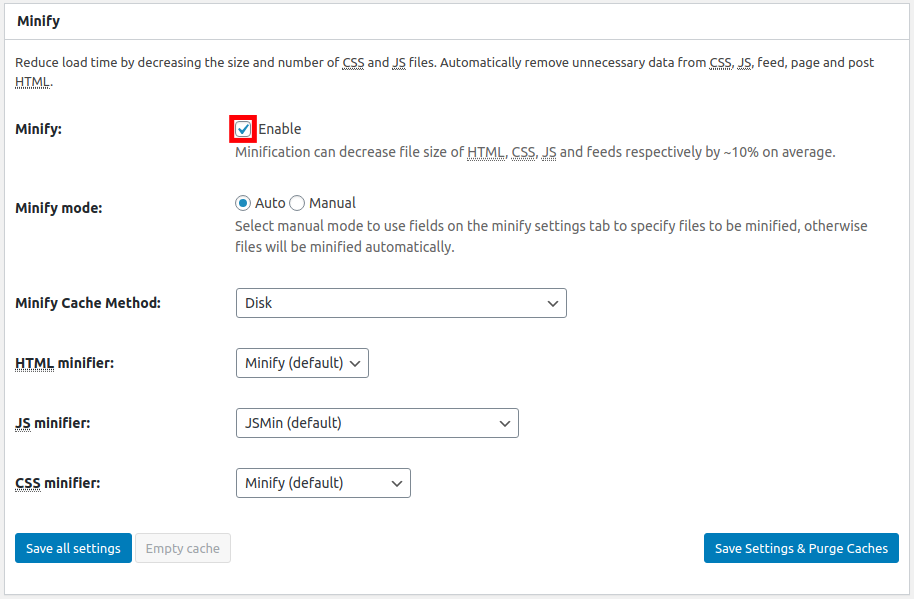 NOTE: If you are using minify, make sure to enable the option, save it and then immediately look at your WordPress site to make sure that the site looks normal. If you see problems with formatting, then it’s possible that a theme or plugin is causing issues due to the minification. You should then disable minification and not use this option with your website.Opcode Cache (in this example it was not available on my server):
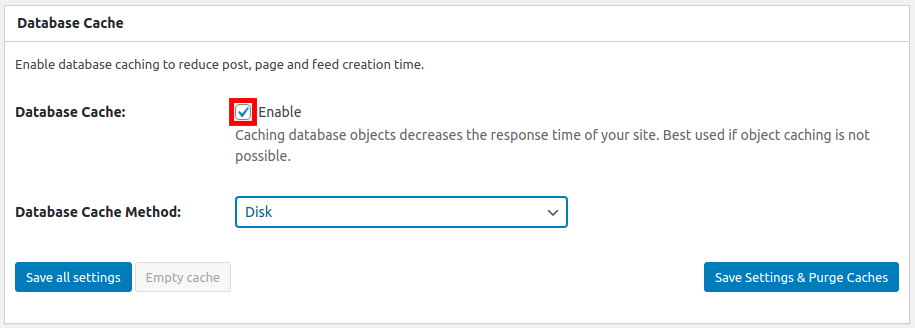
 Database Cache:
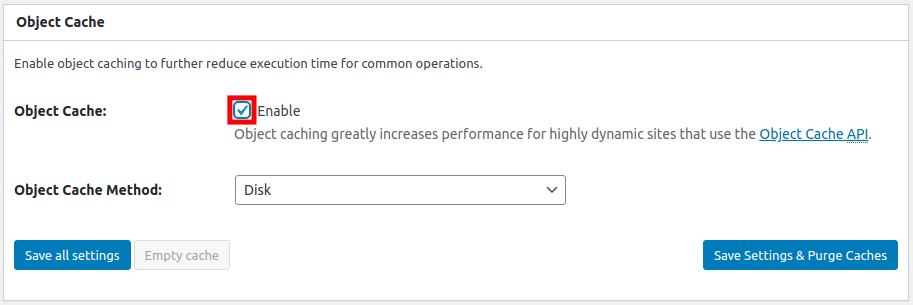
 Object Cache:
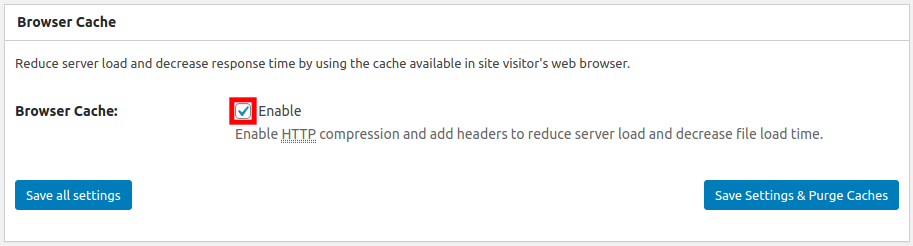
 Browser Cache:
 CDN (you must be subscribed to a 3rd party service):
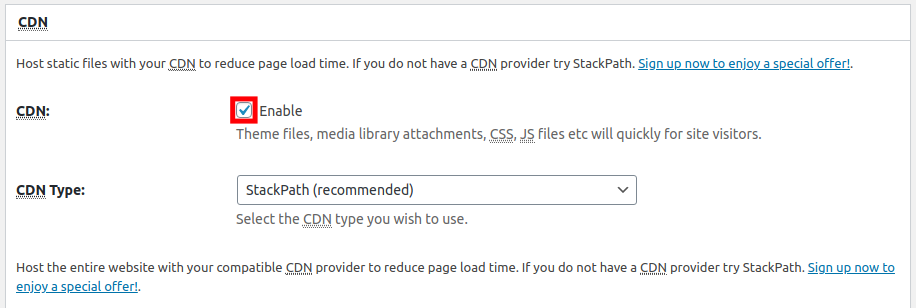
- Hover over Performance again in the left-hand menu, and click on Page Cache.
- Ensure that these options have a checkmark beside them, then click on Save all settings:• Cache front page
• Cache feeds: site, categories, tags, comments
• Cache SSL (HTTPS) requests
• Cache 404 (not found) pages
• Don’t cache pages for logged in users
• Don’t cache pages for following user roles (only use this if you want to disable cache for specific roles)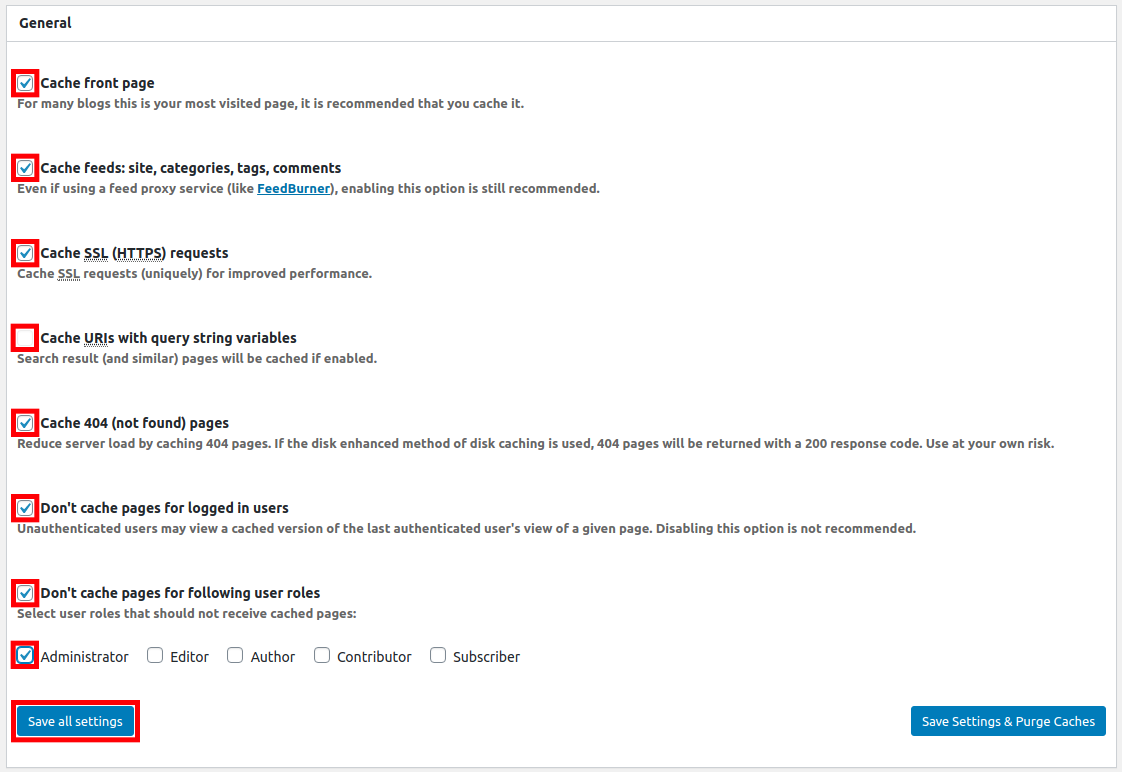
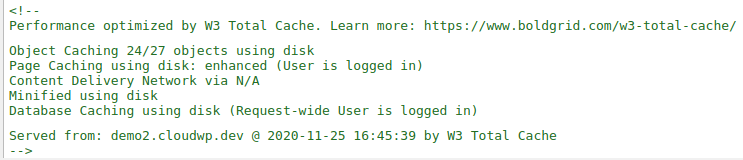
- Finally to confirm that you’ve set up everything correctly, in your web browser open up your site and hit (Ctrl-U), or go to View -> Page source to view the source of the page. Scroll to the very bottom of the page and you should see the W3 Total Cache banner letting you know the page has been optimized.
How to Clear WordPress Cache
Clearing your WordPress cache can be something you may need to do from time to time when using a caching plugin to speed up WordPress. If you make changes to your WordPress site and don’t see the changes when visiting the updated page, you may need to clear your cache. This is because the caching plugin could still be showing the cached version of your page.
To force your WordPress site to show your most recent changes right away, you can delete the cache. Below are steps to clear the WordPress cache in the Dashboard and via WP-CLI.
Clear Your Cache in the Dashboard
- Login to your WordPress Dashboard.
- Hover over Performance, then click Dashboard.
Click the empty all caches button. ![]() Clear Your Cache in WP-CLI
Clear Your Cache in WP-CLI
- Log in to SSH or cPanel Terminal.
- Navigate to your WordPress directory.
- (Optional) Ensure W3TC is installed and active:
wp plugin status w3-total-cache
You should receive the plugin name and Active status.
- To purge URLs within your content delivery network (CDN) and Varnish (if enabled):
wp w3-total-cache cdn_purge
- To flush other caches:
wp w3-total-cache flush an-attribute-below
all
posts– page and posts cache
post– page cache
database
object
minify
For example:wp w3-total-cache flush all
How to Import or Export W3 Total Cache Settings
There may be times when you want to backup your settings or use them on a different site. Follow along and we’ll walk you through importing and exporting your W3 Total Cache settings in the Dashboard. We will then show you how to import a settings file via WP-CLI.
Import/Export Your Settings From the Dashboard
- Log in to your WordPress dashboard.
- Under Performance, select General Settings.
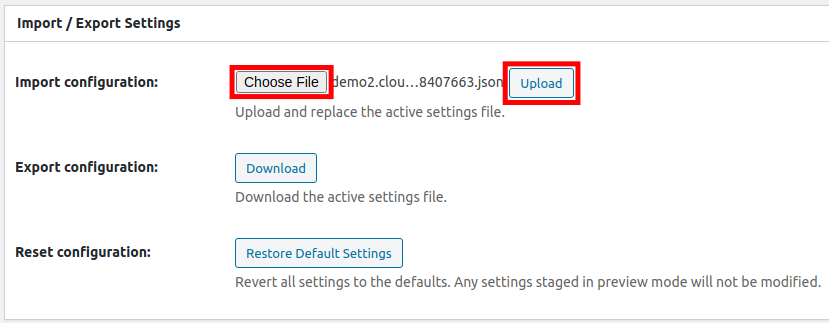
At the bottom, export your settings by clicking the Download button. 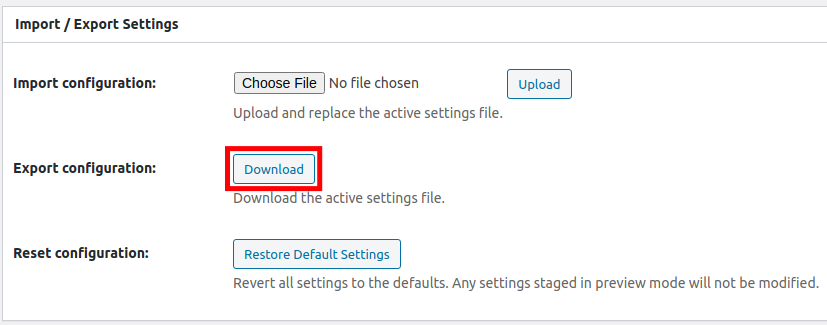 Import your settings by clicking the Choose File button to select your backup (.json) file. Then, click the Upload button.
 Import Your Settings with WP-CLI
- Upload the file to your cPanel account.
- Log in to SSH or cPanel Terminal.
- Navigate to your WordPress directory.
- (Optional) Ensure you’re in the correct directory:
wp option get home && wp option get siteurl
You should receive your domain twice.
- (Optional) Ensure W3TC is installed and active:
wp plugin status w3-total-cache
You should receive the plugin name and Active status.
- Run this command:
wp w3-total-cache import file-path-to-filename
Congratulations, now you know how to use W3 Total Cache plugin to optimize the performance of your site. We recommend bookmarking our WordPress Tutorials section for more helpful guides.