Do you have a story to tell? Do you want to share your knowledge with the world? If so, you may want to consider creating a WordPress blog. WordPress is a free and open-source content management system (CMS) that makes it easy to create and manage a website or blog.
In this article, we’ll walk you through the steps of how to create a post in WordPress, from choosing a topic to publishing your post.
How to Create a Post in WordPress
WordPress is a popular content management system (CMS) that makes it easy to create and manage a website, even if you have no coding experience. With WordPress, you can create a blog, portfolio, or even an online store.
Choose a topic
The first step to creating a WordPress post is to choose a topic. What do you want to write about? What are you passionate about? What do you know a lot about? Once you have a topic in mind, you can start brainstorming ideas for specific posts.
Log in to your WordPress dashboard
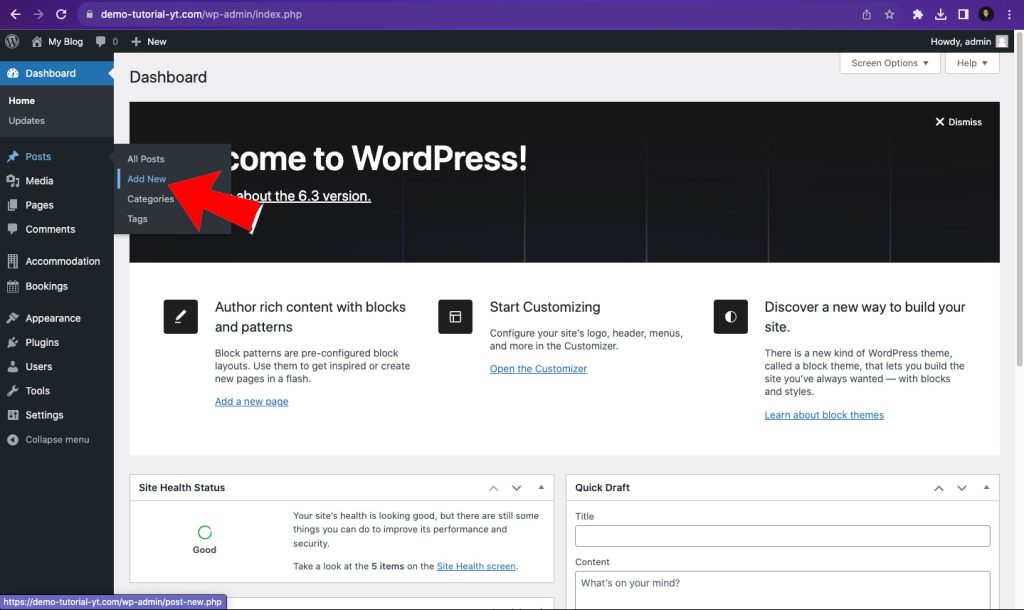
To create a new post in WordPress, you’ll need to log in to your WordPress dashboard. Once you’re logged in, click on the Posts tab in the left-hand sidebar.
Create a new post
To create a new post, click on the Add New button at the top of the page. This will open up the WordPress editor.
There are a lot of elements in the WordPress editor that you can use to add anything to your post. Below are the most popular elements and how to use them.
1. Headings
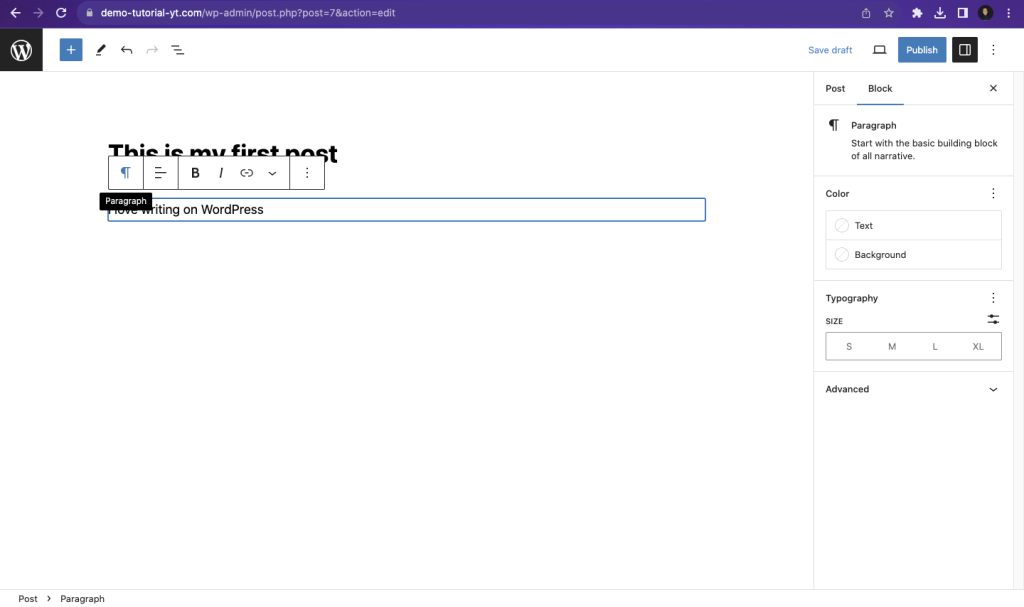
Headings are a part of the WordPress elements that you can use to organize, or in other words, outline your content. Headings comprise H1, H2, H3, H4, H5, and H6. But the ones that are used most frequently are H1, H2, and H3. To add headings to your post, first, you need to select the block and type a text like ‘I love writing on WordPress’.
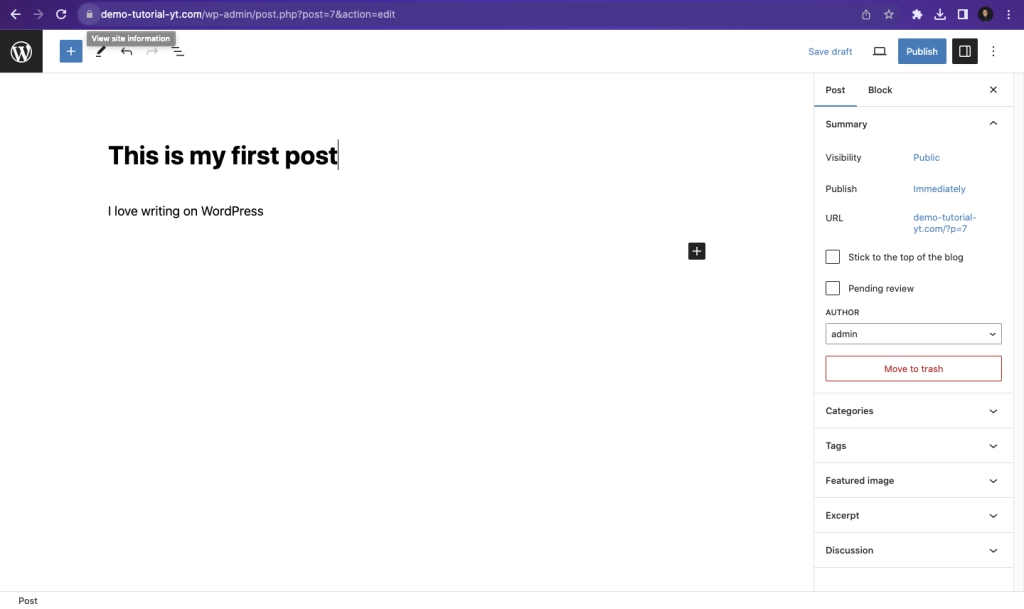
Next, while writing, you will see a little pop-up with icons. Click on the first icon.
Then you will see ‘Heading’, and you can click on it. Your text will be changed to H2 by default.
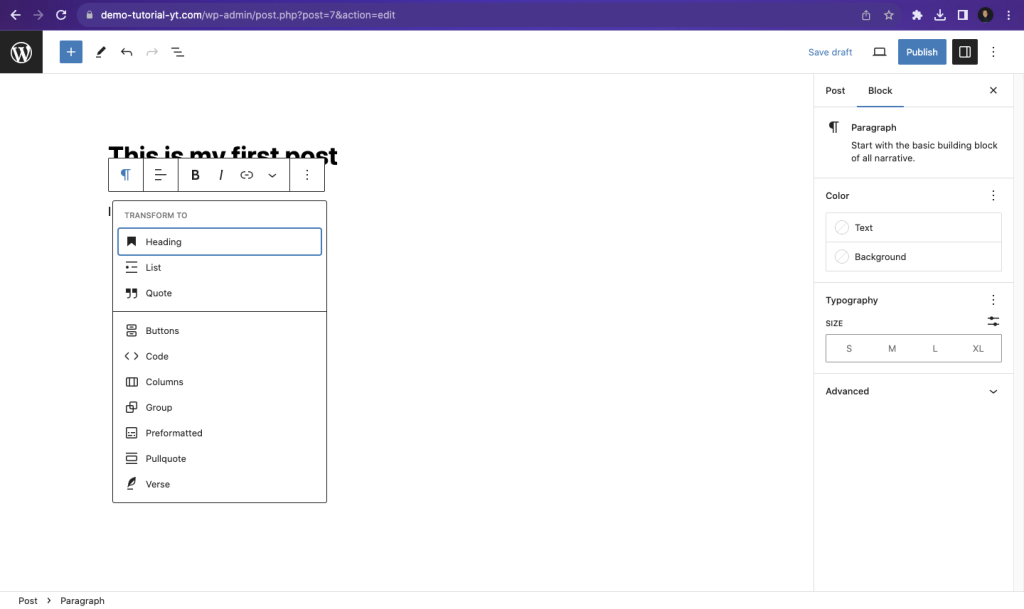
You can click on the H2 option to change it to the preferred heading element you want to use.
2. Links
Links are a part of the WordPress elements that are used to navigate from one web page to another. Links can be highlighted on images or text; when clicked or tapped, they will take the user to a different page on another website or the same website.
Now, when it comes to adding links in WordPress, we have internal links and external links. An internal link means you link a post on your WordPress site to another post, while an external link means you want to link a post on your WordPress site to a different website.
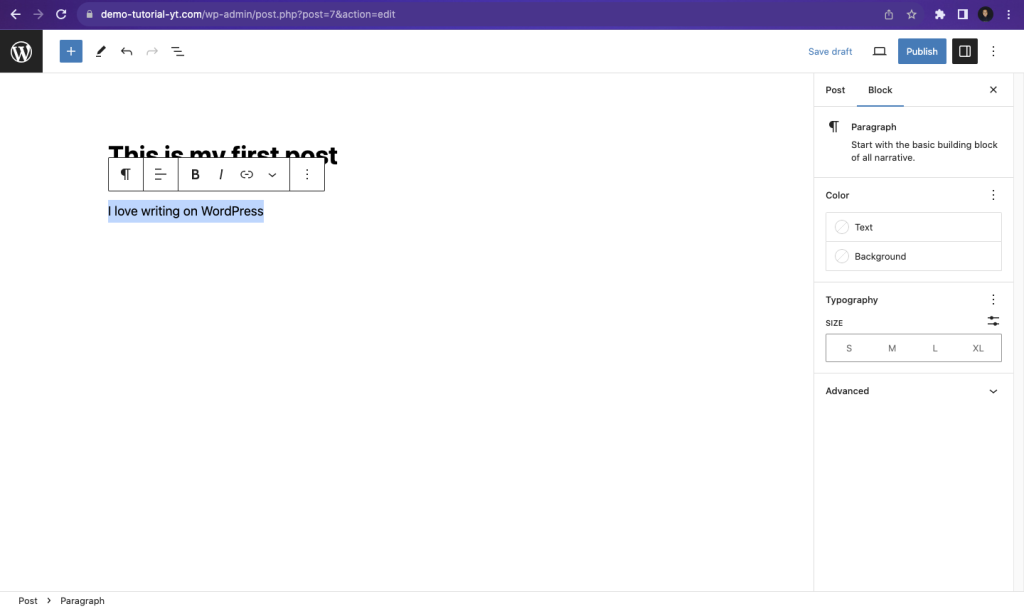
To add a link to your post, first, you need to create a text and highlight it using ‘Ctrl + A’ if you’re using Windows or using ‘Command + A’ if you are using a Mac.
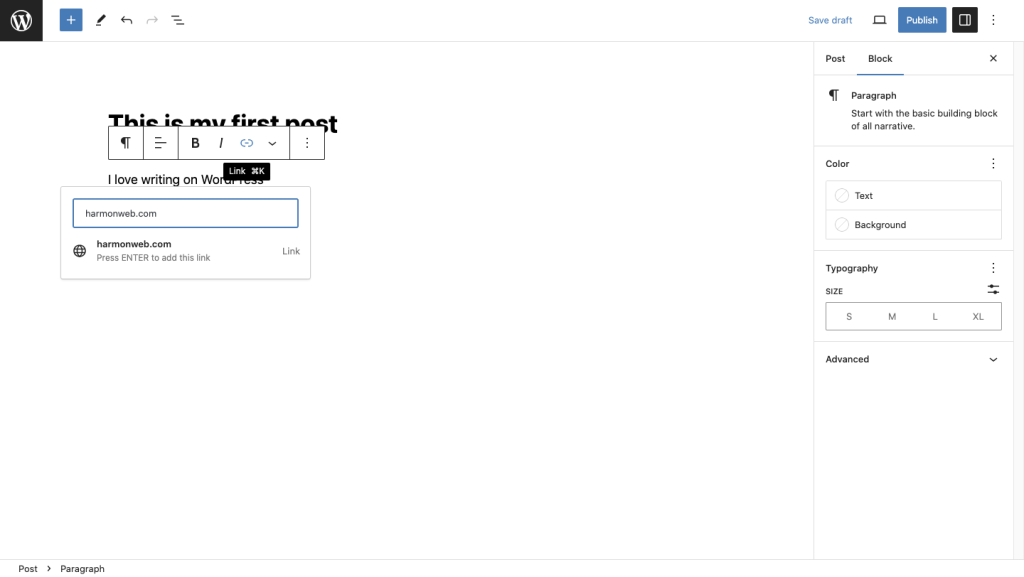
Next, click on the link icon and type or paste the link you want to add to the post. Then press ‘Enter’.
3. Images and Featured Images
An image is a visual WordPress element you can add to your post to enhance readability for your users. A featured image is an image that represents the focus or topic of the post. A featured image is usually displayed on the main blog page or when you share your post on social media.
To add an image to a WordPress post, first, you need to open a new block and click on the plus icon on the right.
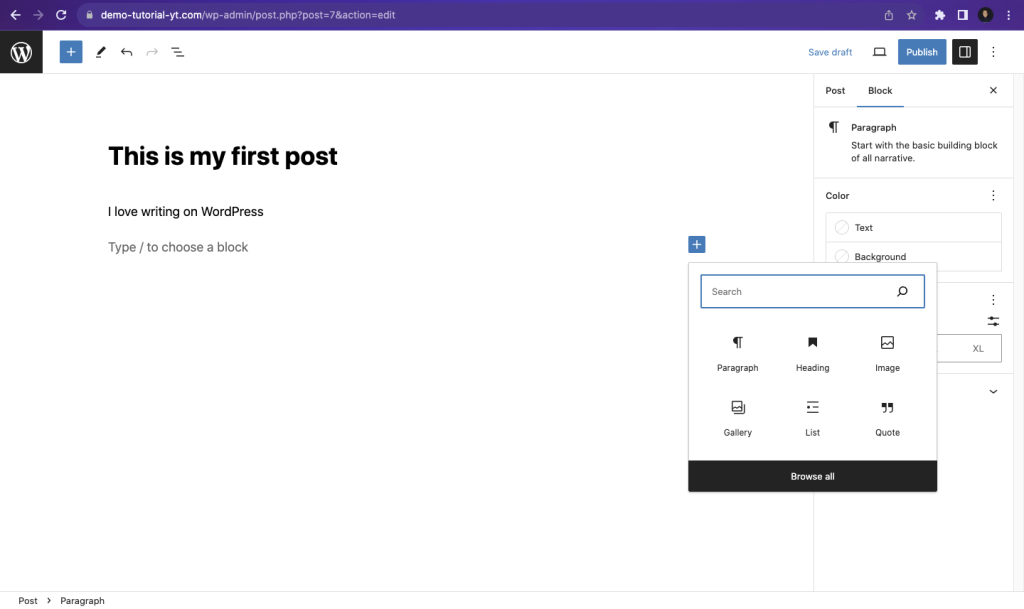
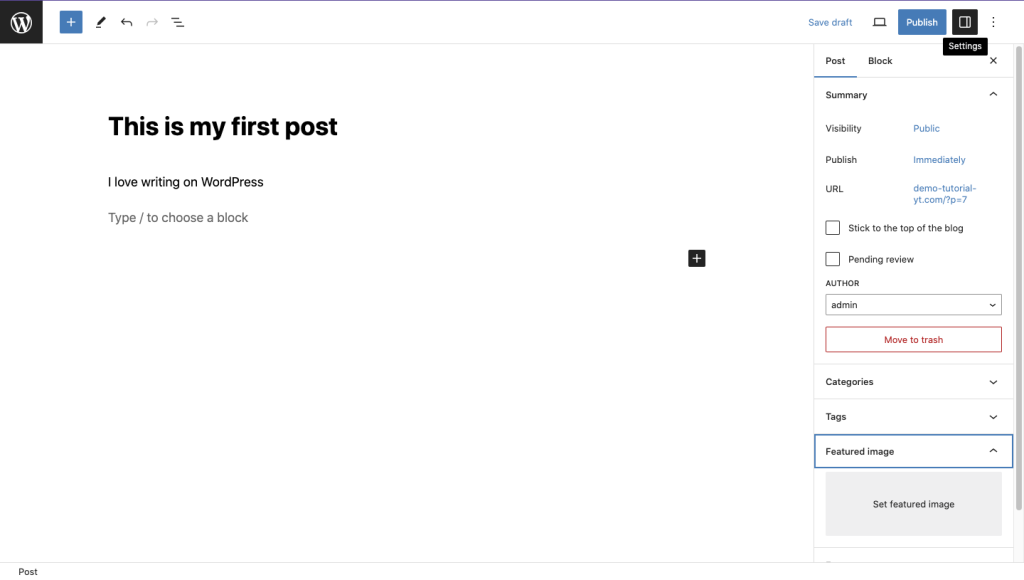
Then you can select the image icon and upload an image to your post. To upload a featured image, click on the settings icon at the top right. Click on ‘Post’ and scroll down, then toggle on ‘Featured Image.’ After that, you can upload the image you want to use as the featured image.
Once you’re happy with your post, you can publish it. To do this, click on the Publish button in the top-right corner of the WordPress editor.
Once your post is published, you can start promoting it so that people can find it and read it. You can share your post on social media, submit it to directories, and email it to your subscribers.

